
 Deutsch
 Francais
 Nederlands


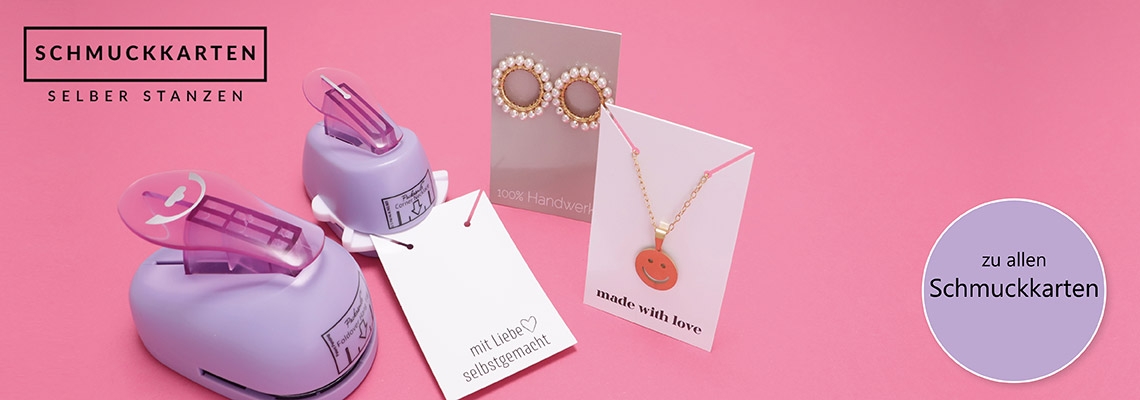
Punching jewelry cards for earrings, necklaces and bracelets yourself
You can easily turn cards for jewelry into perfect display cards with a matching card punch.
Punching jewelry card for necklaces or bracelets yourself
This punch punches two slots in the jewelry card. Rectangular and square cards are especially suitable for the punch. If the card has an imprint, it is convenient if the imprint is in the lower area of the card or rather in the center. This way you don't punch into the imprint.
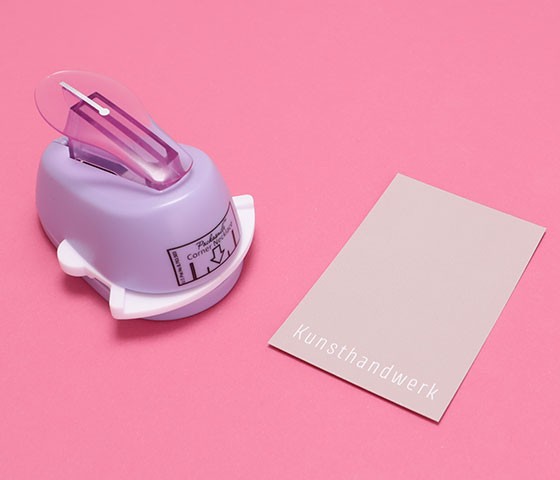
Punching your own jewelry card for necklaces or bracelets
Step 1
Take the jewelry card and push the card along the guide rail into the punch. When the card is all the way in the punch you can press down the lever of the punch.

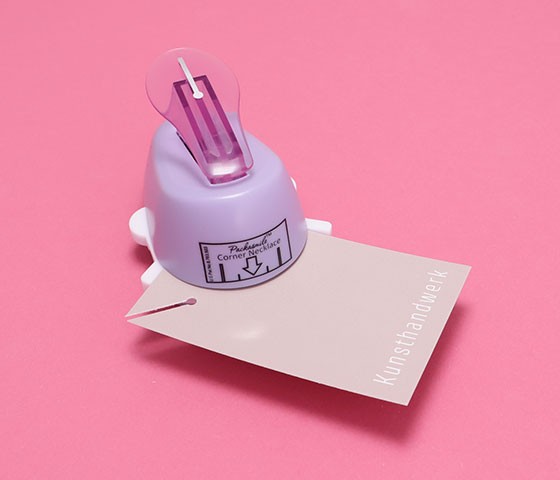
Punching your own jewelry card for necklaces or bracelets
Step 2
Pull the card out of the punch again. Now you can see that a slit has been punched in the corner of the card.
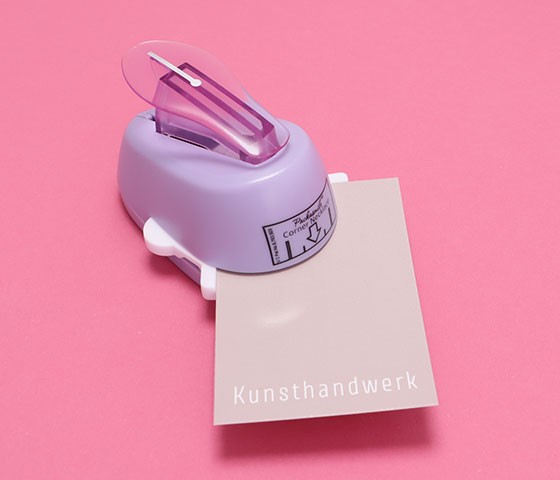
Punch your own jewelry card for necklaces or bracelets
Step 3
Now punch the second corner. This time, slide the card into the punch along the opposite guide rail. Be sure to push the jewelry card all the way into the punch again.

Punching jewelry card for necklaces or bracelets yourself
Step 4
Now the card is punched on both corners and can be used as a display card for jewelry. This punching is especially suitable for necklaces or even bracelets made of thin ribbon.
Punching your own jewelry card for necklaces or bracelets
Step 5
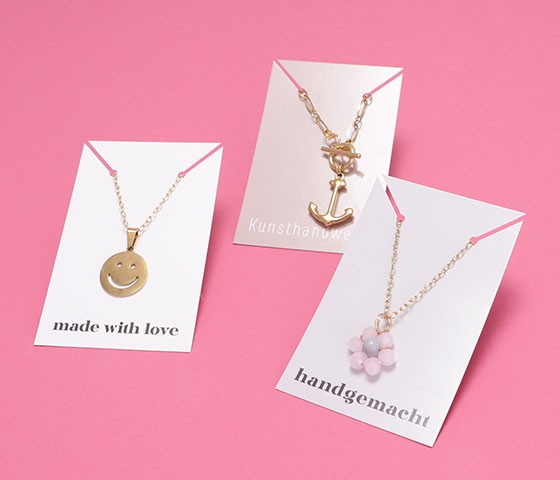
To give you a better idea of how you can use the punched jewelry card, here are a few examples. We have presented link chains with pendants on the card. But you can also use chains with thin cotton or leather ribbons.
Punch your own jewelry card for stud earrings
To present stud earrings perfectly, you need a jewelry card with two small holes for the stud earrings. This practical punch punches two holes in one step and ensures that the holes are always the same distance apart. All types of jewelry cards are suitable for this punch.

Punching your own jewelry card for stud earrings
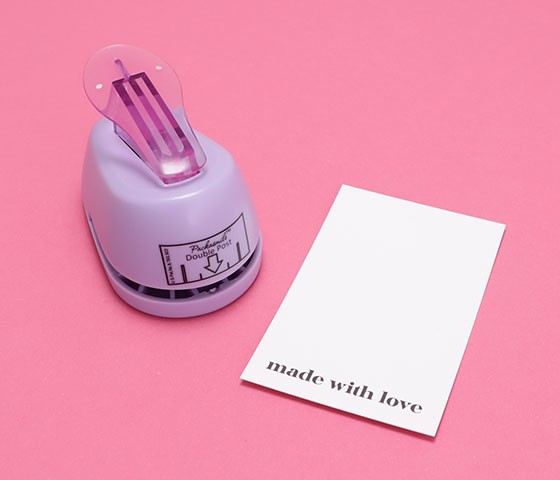
Step 1
Think about where you want to punch the holes on the jewelry card. The punch has markings that show you where the holes will sit later. In this example, we took the card upright and placed the holes in the center.
Punching your own jewelry card for ear studs
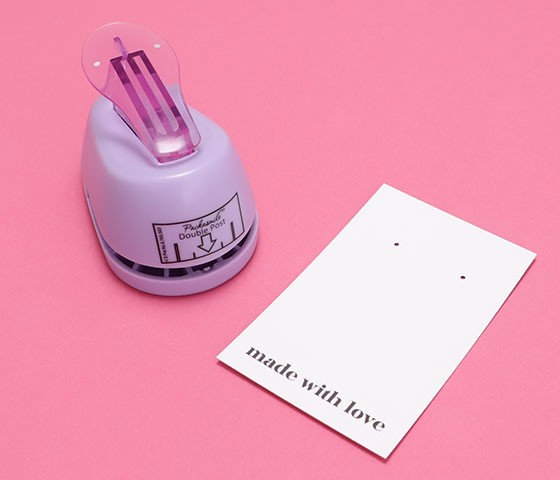
Step 2
After you have pressed the punch down firmly once, you can take the card out of the punch. There are now two small parallel holes punched in the card in the correct diameter for stud earrings.
Punching your own jewelry card for ear studs
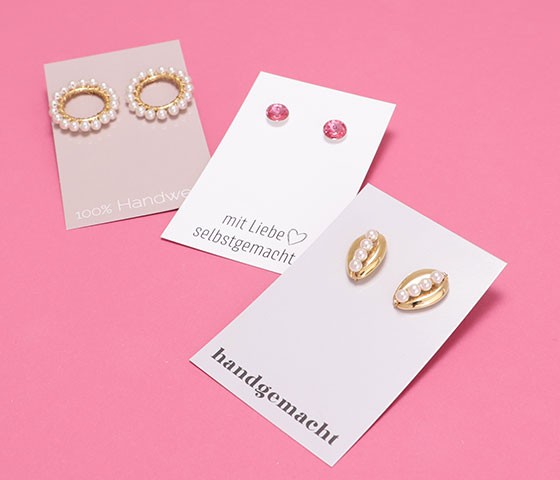
Step 3
You can now try out the finished punched jewelry cards with a pair of ear studs. Put the ear studs through the punched hole and fix the ear stud on the back with the ear stud stopper.

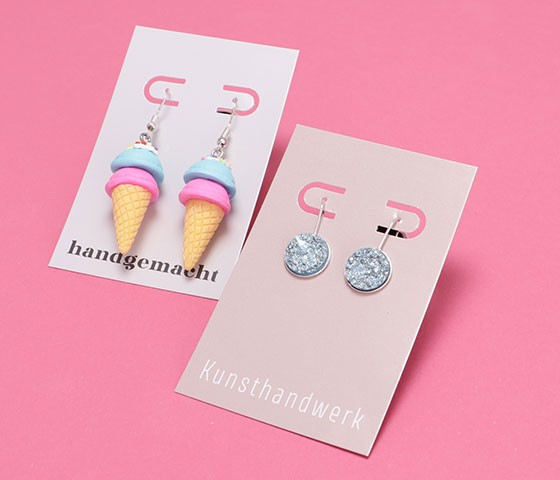
Punching jewelry card for earrings yourself
If you've ever tried to attach a fishhook or hoop earring to a card for stud earrings, you'll have found that the result wasn't quite satisfactory. Here's the solution for you: a card punch specifically for earrings. The punch is suitable for many types of cards for jewelry.

Punching jewelry card for earrings yourself
Step 1
Push the jewelry card into the punch as far as it will go. The marks on the punch show you where the openings will be punched later on the punch. Press the lever of the punch down once.

Punching your own jewelry card for earrings
Step 2
Now take the display card out of the punch. You can see that two parallel openings are punched in the card in one step. The openings have two small round holes through which you can put the pin of the fishhook or brisur. There is extra space punched around the opening so that the earring holders can move freely on the card.
Punching jewelry card for earrings yourself
Step 3
Here you can see two examples of earrings on the jewelry display card. The card give the homemade earrings a professional frame and everyone can see that everything here was handmade.

Punching jewelry card as a rider for bags or ribbons yourself
Some items or jewelry can be packaged very well in a bag with a ridge turret or attached directly to a ridge turret. There is a matching punch for jewelry cards for this as well, which can turn a card into a ridge turret.

Punch your own decorative card as a tab for bags or ribbons
Step 1
Push the decorative card into the punch as far as it will go. The marks on the punch will help you find the center of the card. Again, press the lever of the punch firmly once to punch out the shape.
Punching the jewelry card as a rider for bags or ribbons yourself

Punching a decorative card as a tab for bags or ribbons
Step 2
Here you can see the finished punched card. For this punch are more suitable cards in business card size. It is best to push the cards up into the punch.

Punching your own decorative card as a rider for bags or ribbons
Step 3
Here you can see the finished punched card. For further use you have to fold the card. Then you can attach small bags or jewelry to the card.