
 Deutsch
 Francais
 Nederlands


Vintage button ring make with modeling wire


For a finger ring with buttons you need the following materials:
1. modeling wire
We use Artistic Wire in the thickness 0.81 mm (20 gauge) or 0.64 mm (22 gauge). You can choose the color to match your buttons!
2. buttons
For a ring you can use any button, no matter what shape or size. It doesn't matter if the button has holes or an eyelet on the back!
You will need the following tools for a ring:
Side cutter to cut the modeling wire
Ring stick or a round wood in your ring size to bend the ring rail
Flat nose pliers for trimming the bent ends
Step 1
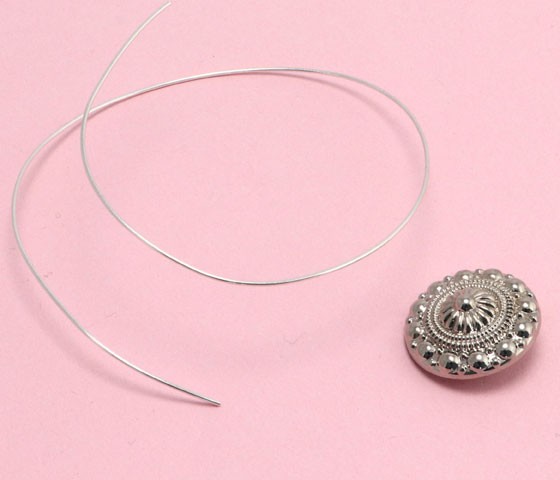
Cut the right wire length
Use the modeling wire to bend the ring rail and fix the button on the ring rail. The wire length depends on your ring size. It also determines how many times you can wrap the wire around the button later to securely fix the button to the ring rail. If you are not sure, cut the wire a few centimeters too long. It is very annoying if, while working, you realize that the wire is too short to model the ring properly!
A good wire length is about 30 -35 cm.

Step 2
Thread the button onto the wire
Once you have cut the wire from the wire spool with the side cutters, the next step is to thread the button onto the wire.
In this tutorial we used a button with an eyelet on the back. But you can also turn any other button into a ring. At the end of the tutorial we will show you how to start with a button with thread holes.
Pull the button onto the center of the wire.

Step 3
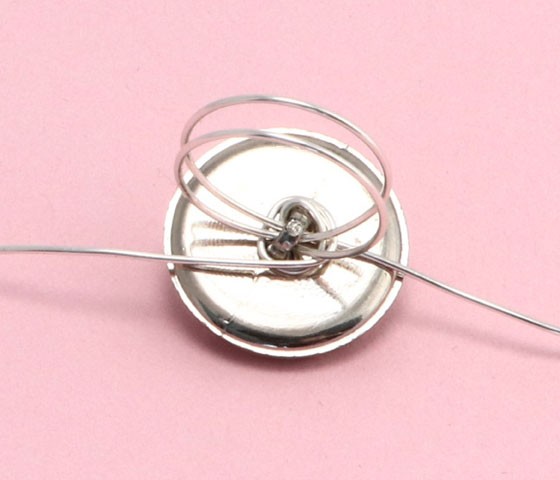
Pre-bend the ring rail
Now the later ring rail is created. To do this, pull the wire through the eyelet of the button once on each side. This creates two loose rings. Try to bend the wire as carefully as possible. Should you still bend a small kink in the wire is not bad. You can correct this later!
The wire is bent into two loose loops.

Step 4
Put the ring on the ring stick
For this step you need a ring stick. We have used a metal model here. Ring sticks are also available in many other designs made of wood or plastic. You can find the ring sticks in our store!
If you don't have a ring stick at hand, you can also use another round object in your ring size. For example, a round wood or a thick felt-tip pen is also suitable.
Slide the two loops onto the ring stick.

Step 5
Bend the ring bar
Slide the ring onto the ring bar until you reach your desired ring size. Some ring bars have convenient measurements right on the bar. If you don't have a measurement, mark your ring size, such as with an adhesive strip. If you don't know your ring size, just pull a well-fitting ring onto the ring stick and mark the spot.
Now pull the wire ends from both sides. The wire will now close smoothly around the ring stick in the desired size.
Step 6
Bending the holder for the button Part 1
In order to make it a permanent eye-catcher later on, the button has to be fixed securely to the ring loop. To do this, take one end of the wire and wrap it tightly around the ring eyelet at least three to four times in a clockwise direction. If it's easier for you, you can also leave the ring on the ring bar for wrapping.
Wrap one side of the wire tightly around the button eye three to four times.

Step 7
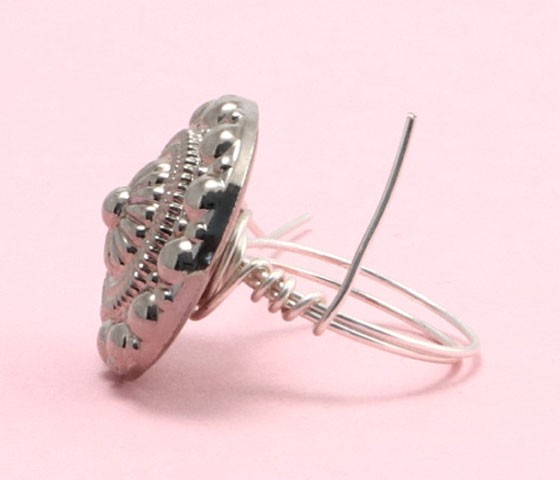
Bend the holder for the button part 2
Now repeat the process with the other side of the wire. Again, wrap the wire three to four times around the button eyelet. This time, however, do it in the opposite direction, i.e. counterclockwise. If you have left the ring on the ring stick until now, pull the ring off the ring stick now. You can feel that the knob is now firmly on the ring bar. On the left and right side there are about 6 -8 centimeters protruding from the wire.
Also wrap the other side of the wire around the button eye in the opposite direction.
Step 8
Fixing the ring rail
Now you have to fix the ring rail. Start on one side of the ring. Wrap the wire tightly around the two loops of the ring rail. Wrap the wire at least four times around the ring rail. You will notice how the ring rail now becomes more and more stable and both loops of the ring rail lie closely over each other.
Wrap the wire at least four times around the two loops of the ring rail.
Step 9
Trim the ring rail
Now you can trim the excess wire close to the ring rail with the side cutter. Make sure that you cut the wire cleanly. A sharp point in the wire could prick your finger when you wear the ring.
It looks especially nice if you press the wrapped part of the ring rail together with a pair of flat pliers.
Cut off the excess wire.

Step 10
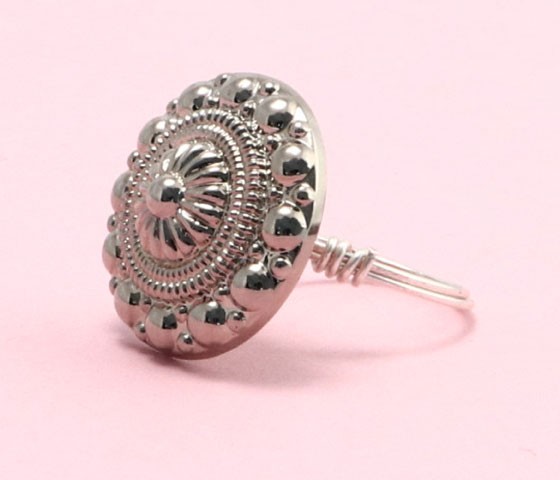
Finish the ring
Repeat the process on the other side of the ring, again wrapping the loose wire end around the ring rail. Clip off the excess wire here as well and press the wraps together at the ring rail with the flat nose pliers.
Before you wear the ring for the first time, make sure all wire ends are neatly cut and pressed down!
The button ring is now ready
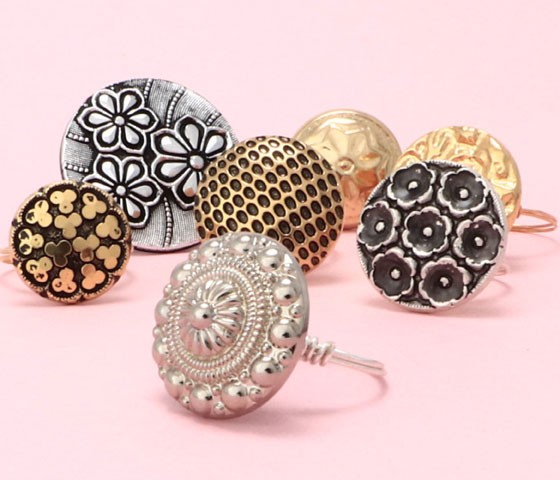
So many buttons and so many design possibilities!
Once you've finished your first ring, you're sure to get craving more in no time! Browse through your drawers and keep an eye out for particularly beautiful one-of-a-kind pieces. You can also purchase one of our great vintage button mixes. Then you can dive into an incredible variety and produce an entire collection of button rings for every taste!
Check out our vintage button mixes!

Make a button ring with a button with thread holes
You can turn any button into a great ring! If you use a button with threading holes, the first step is a little different. You have to place the button on the center of the wire. Therefore, thread the button onto the wire as shown in the photo. All other steps are the same for this button.
You can turn any button into a great ring! If you use a button with threading holes, the first step is a little different. You have to place the button on the center of the wire. Therefore, thread the button onto the wire as shown in the photo. All other steps are the same for this button.

Piles of button happiness!
If you've tried your hand at a simple button ring, you might get a hankering for more! Especially fancy ring creations are created when you stack several buttons on top of each other and connect them to form a ring. You can also combine the buttons with other materials like bead caps, metal beads or rocailles. Here you can find some inspiration for stacked button rings.
Have fun with this tutorial and soon with your new ring collection. All items from this tutorial can be found here below the text!